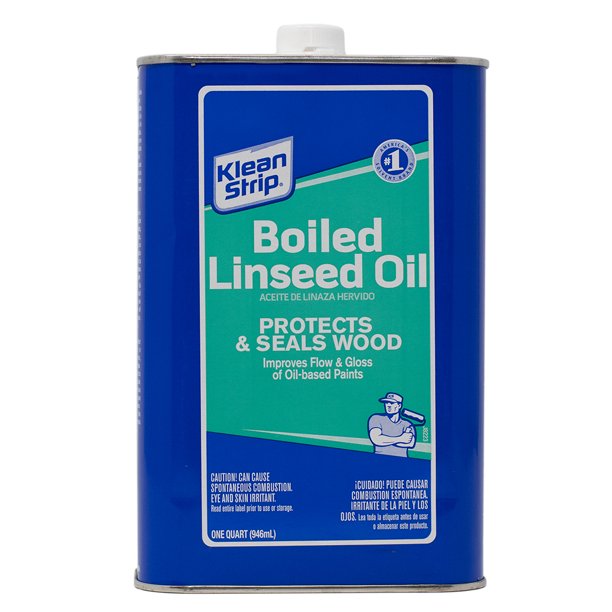
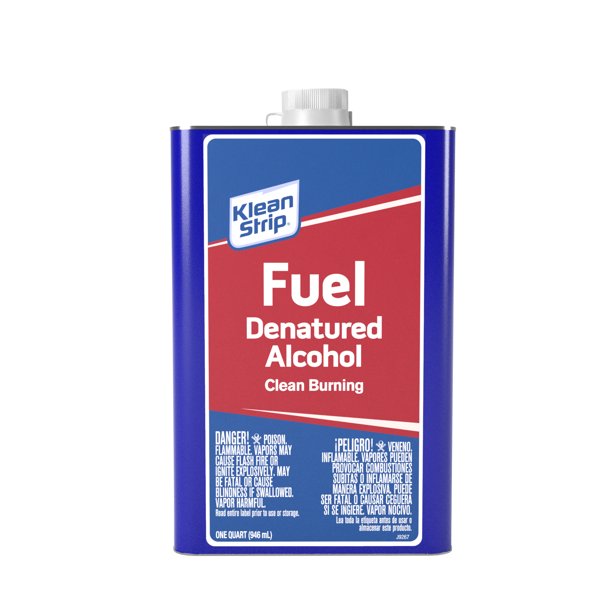
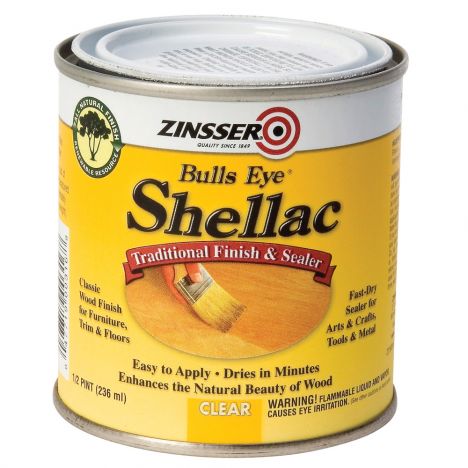
Using a suitable container that has a sealable lid (I use a 12 oz Mason jar) add the ingredients in the 1/3, 1/3, 1/3 proportions (for a 12 oz jar, 3 ozs of each will be about the right amount. Seal the jar (or container of choice) with its lid and shake the container to mix the 3 ingredients. Once mixed, your O.B's Shine Juice is ready to use.
To use:
I normally transfer a small amount of the mixture to an empty squeeze bottle (used mustard bottles work well for me) when I am ready to apply the "juice" to my turning. Please note that the alcohol in the mixture with evaporate relatively quickly from any container that is not well sealed (such as a squeeze bottle). Emptying unused "juice" back into the original Mason jar, once you've finished with your turning, will help keep your mixture's proportions correct.
Once the my squeeze bottle has been filled, I squirt a small amount of the the "juice" onto a paper towel and generously apply it to the turning with the lathe off (I've also done this with the lathe at low speed but that resulted in a spattering of "juice" on my face mask, clothes, and the lathe ways - your experice may differ.) IMPORTANT SAFTEY NOTE: DO NOT USE A CLOTH RAG, TOWEL, OR SIMILAR. Cloth is sufficiently strong to severly damage you fingers in the event the cloth snags on the turning. Paper towels work fine and shred before your hand does.
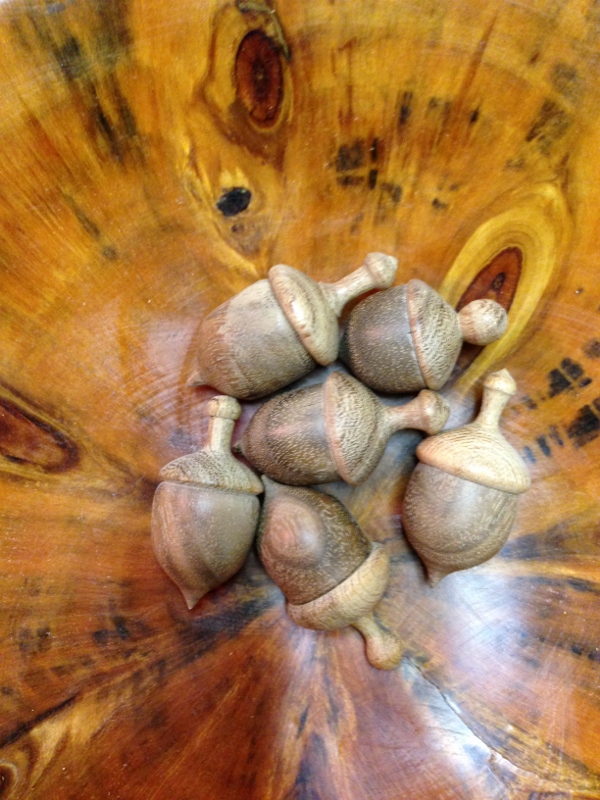
Once you've applied the "juice" to your turning, give a minute or so to soak in, and apply a second coat. Once the second coat has set for a minute, start the lathe (running at 500 to 1,200 RPM), add a little more "juice" to your paper towel and begin rubbing the paper towel slowly, back and forth across your turning. The alcohol with evaporate and the shellac and linseed oil will cure and harden. You may repeat the 3 step process (1. Apply & wait, 2. Apply & wait, 3. Spin and rub) as many times as needed to acheive the finish you desire. Once you've added as much finish as you desire, you are done.
A note on food safety: As with nearly every other finish sold in the U.S. today, O.B.'s Shine Juice is food safe - once it has completly cured. The key to safety is "completely" cured. Dry to the touch is not necessarily "completely" cured. When in doubt let it dry for a few days to a few weeks - if you can still smell the finish is not completely cured.
And, food safe doesn't mean liquid tight. Just becuase its shiny dosen't mean it will hold soup!

 Rebecca DeGroot
 I am from Lubbock but have lived in Richardson for the last 42 years. I started turning in ’91 and joined WNT almost immediately. This was in the Ft Worth Paxton Wood store days. Clay Foster and Larry Roberts were my main “go to” guys when I had questions. A few years later, in the 1st Mike Wallace shop days, we got our first camcorder, eventually spelling the doom for the 45-degree giant mirror (YEA)! I immediately got involved in the video operations. That effort migrated to the yearly meetings of the Texas Turn or Two (now SWAT). For several years I was the A/V manager for SWAT.
 Our presenter, LARRY MAUGHN, has been working with wood since a youngster. During the last 30 years his focus has been on woodturning including pens, bowls, spindles, goblets and platters. He began using products from the Easy Wood Tools company some after the company began in 2008. He is a Certified Instructor with Easy Wood Tools and has done turning demonstrations in most of the wood stores and area clubs. Larry is a member of the Dallas Area Woodturners and the North Texas Woodworkers Association.